Let’s face it, in today’s information age, content is king. To put it more accurately, anyone trying to be a successful on the interwebs needs to quickly create and present great content. Therefore, content management systems (CMS) are heavily used. I don’t know how accurate this is but it has been said that WordPress is the most user-friendly and most used CMS on the internet. However, WordPress has been traditionally hosted on Linux servers. It should be no surprise that I am a Windows user and host everything on Microsoft Azure. Per my previous post and thanks to Azure’s new MySQL services, you can host a WordPress in Azure’s App Service which is actually an instance of Internet Information Services (IIS).
Where I am
So, here I am a Windows user with a background in .NET and I have a WordPress on Azure which uses IIS and MySQL. Unfortunately, most of the features available in WordPress just do not meet the needs of, well, anyone. There is always a need to add plugins and create themes. Think about it, you have authentication, SEO, email/SMTP and marketing plugins and if every website looked the same the internet would be boring. In addition, themes out-of-the-box are too simplified. Now, many of the plugins and themes are free until you want to customize to your liking and then you pay and it is ridiculous. Yes, I am calling your overpriced plugins or themes ridiculous. Accept it. I get it, everyone needs to make a living but for small businesses and users your pricing models are excessive.
Side Note
I imagine you are getting a sense of my frustrations with WordPress. But before you ask, I have used project nami which is a great platform if you don’t mind waiting to use some plugins following a new release of WordPress. Additionally, I have used other .NET Framework blogging engines but the development efforts have been extensive because of the lack of plugins or themes. Lastly, the market for good WordPress plugins and themes is HUGE because everyone seems to want a WordPress and everyone seems to build poor themes and plugins. As a result, I ultimately chose WordPress, that is, until the new version of Orchard is available, wink, wink.
Anyway, fortunately, I am a developer and can build plugins and themes myself. Because, as the adage goes, if you want something done your way then do it yourself. (I know that is not the actual adage but this is the more honest form) This brings me to the purpose of this post. After a few months of using WordPress I need a way to develop plugins and themes. But remember, I am a Windows user with my WordPress on IIS. So, let’s get started building a WordPress development environment on Windows.
Overview
What you Need:
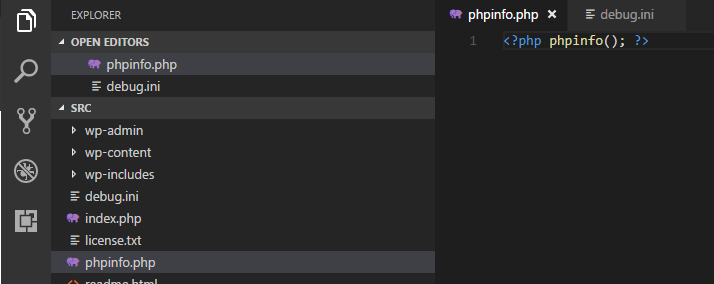
- Any text editor but I recommend Visual Studio Code
- Web Platform Installer (WPI)
- Internet Information Services (IIS)
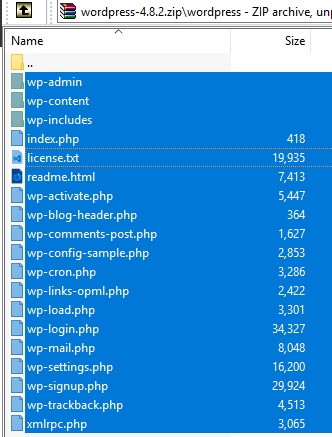
- WordPress Source Code
- MySQL
- MySQL Workbench
Short Version
- Download and Install
- Visual Studio Code
- Web Platform Installer
- WordPress Source Code
- MySQL
- Note: always create a username and password during your install for admin on your dev MySQL; do not use root.
- MySQL Workbench
- Install IIS from the Windows Features option in Windows 10
- Install PHP from Web Platform Installer
- Note: There is an issue with the PHP Manager for IIS that requires a registry hack
- Unpack WordPress to specified dev folder
- Create phpinfo.php and debug.ini files for development purposes
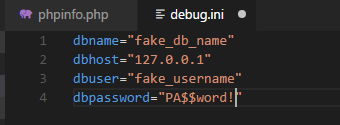
- Debug.ini contains db connection using custom wp-config.php, see below for details
- Create phpinfo.php and debug.ini files for development purposes
- Create Web Application in IIS
- Point it to your dev folder for WordPress
- Add SSL binding and dev cert when creating IIS application
- Just make a habit to NOT EVER OPERATE A WEBSITE WITHOUT SSL.
- Edit host file in
C:\Windows\System32\Drivers\etcfolder with binding from IIS web application
Long Version
Download and Install all the goods
(see overview above)
Install IIS using Windows Features:
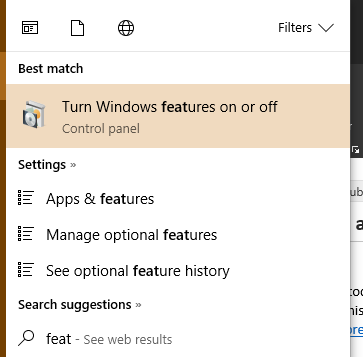
Hit your Windows Key + S and search for features to turn on additional Windows features
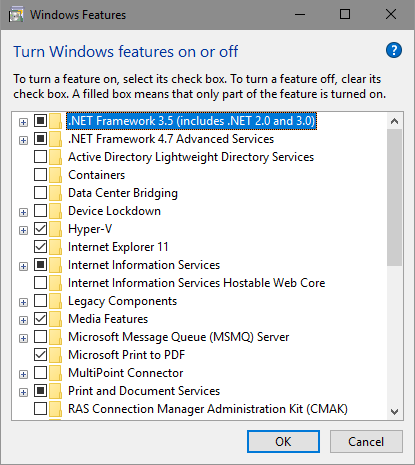
Click the Internet Information Services check box.
NOTE: You don’t need EVERYTHING under this node. Just click it once and all that you need will be included
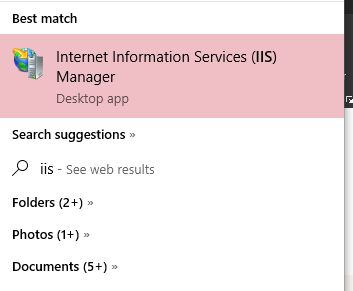
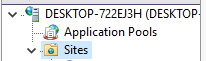
Open IIS
Once installation is complete you can open IIS by searching for IIS and opening the IIS Manager app
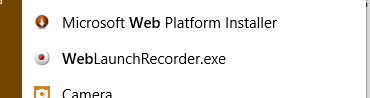
Install PHP and PHP Manager
Open WPI (Windows + s) and search for web
When you install PHP from WPI it includes everything you need. Thank you, Microsoft!

NOTE: There is an issue with the PHP Manager for IIS that requires a registry hack
I don’t endorse hacking the registry and it could damage your machine. Just a heads up, you do this at your own risk.
Unpack WordPress into specified dev folder
Add phpinfo.php and debug.ini to dev folder
A note on these files:
- The files should only be used in development, seriously. Keep them out of your source code.
- The phpinfo.php file is for checking your server settings. It is one line of code.
- The debug.ini file contains your development server info to read into your wp-config.php file.
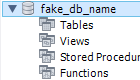
Before you launch the application make sure you create the database schema in your MySQL instance.
Download and use this wp-config.php file instead of the file included in the source. Delete the wp-config-sample.php file too.
- The wp-config.php file is so that you can deploy your WordPress on any server and read settings from the server config there.
- If you use git for source control, be sure to add the 2 files to your .gitignore. DO NOT DEPLOY THEM!
Create the Application in IIS
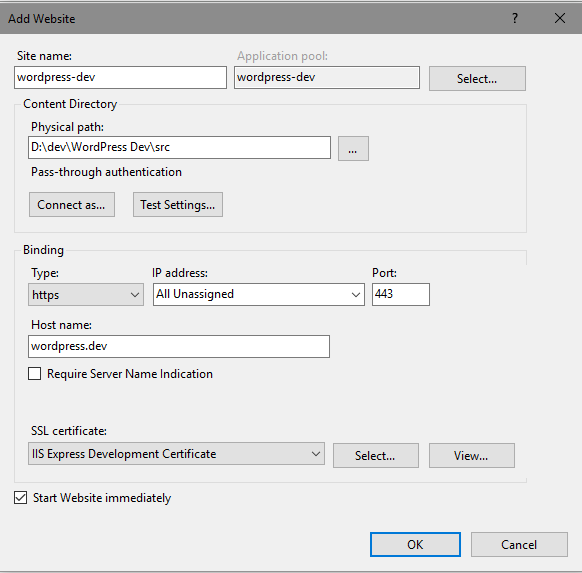
Right-click add website in IIS manager
Create a name for your site, add the physical path and ensure you use https and create a host name
Edit the hosts file

Add the ip: 127.0.0.1 and the host name you chose above.
EX: 127.0.0.1 wordpress.dev
Conclusion
You can now launch your development WordPress website. After the initial setup you will be at the admin dashboard and ready to go. With the exception of the PHP Manager bug, it is actually pretty simple and there are other ways to do this but doing it this way keeps everything nice and tidy; no additional programs to install and I can just copy each new WordPress build over the existing files. Anyway, I will most likely be moving off WordPress at the beginning of next year and will probably start developing on Orchard Core before then but this is here for anyone that needs it and my reference should I come back to WordPress. If you have any questions please don’t hesitate to reach out. Happy building!