Let me tell you a secret. I have been running my blog on the MySQL in App instance provided with each Azure App Service web application for the last few months. Yes, I know that is not a best practice. However, I didn’t want to have to do the ClearDb or host a Linux VM options and I knew Azure would have a MySQL service someday. Today, 5/10/2017, Microsoft announced a new service available in-preview on Azure. They are offering a Database-as-a-Service (DBaaS) for MySQL and PostgresSQL in addition to the SQL Server service. Get excited! You can read all about the service, pricing and documentation here. This post is about migrating a WordPress db from the MySQL in App instance to this new service. You can read more about the in-app instance here, but the goal of the in-app feature was only for development. Hence, the need to migrate, asap.
Overview
Software Tools
- Any web browser
- Visual Studio Code
- MySQL Workbench
- Any ftp client
- Optionally, phpMyAdmin
Steps
- Assumptions and Preparations
- Create an Azure Database for MySQL
- Export and Importing the Existing Database
- Deploy WordPress to Staging Environment
- Swap Production and Staging Environments
Let’s begin.
Assumptions and Preparations
I am assuming a couple of things about the audience for this post. First, that you have a valid Azure subscription and know what PaaS means. Second, you are familiar with administering a WordPress blog running in an Azure App Service using the Standard pricing tier.
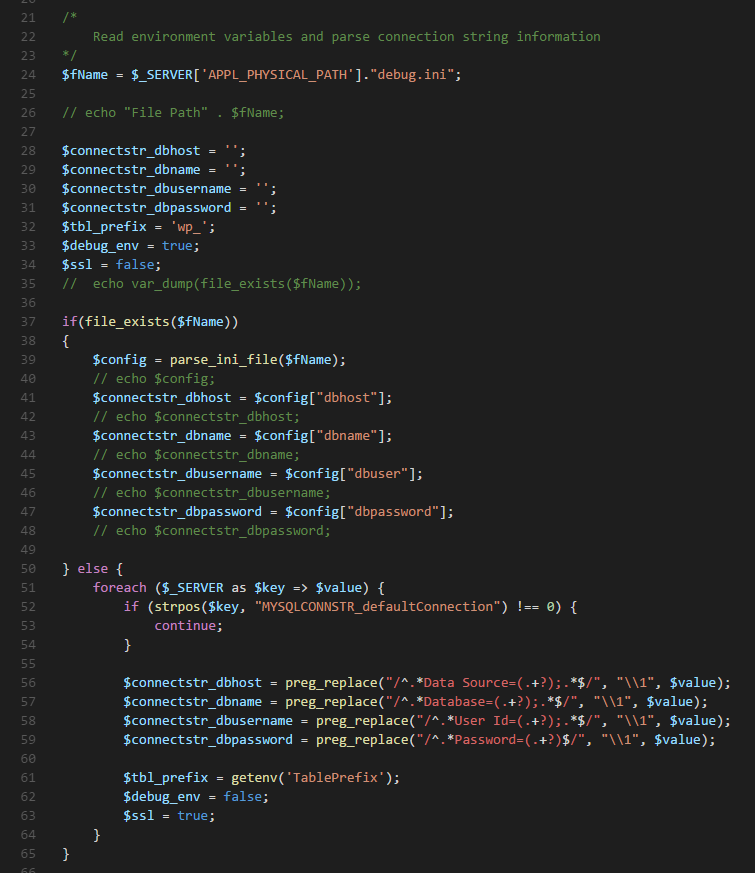
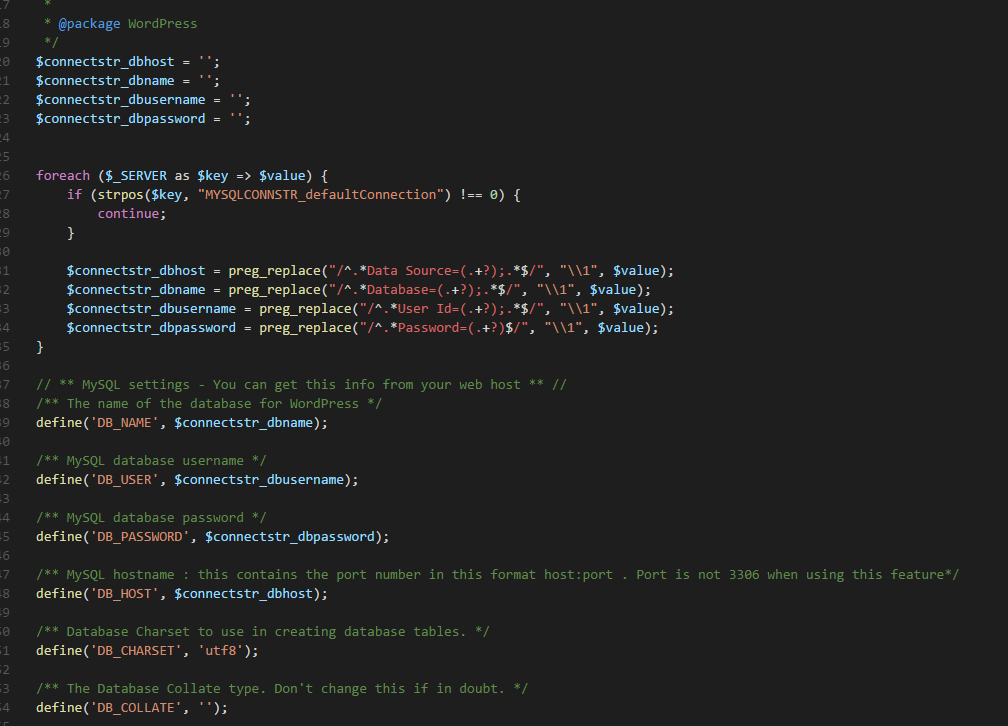
This last bit of preparation is configuration. Let me start by saying, configuration management is difficult even for small apps. I originally deployed this app with the idea of only having a staging site and a production site. However, this was not feasible as there was some weird issues with the MySQL in-app between the 2. As a result, I just use my development environment as the testing ground before production. Additionally, I don’t install any plugins in dev they are all installed in prod, backed up and copied down to dev. Anyway, I originally configured the wp-config.php file to dynamically read the server environment variables so that I wouldn’t have to reconfigure each environment. Because that is a pain. Below is the code I used for this. Once I got this working it was nice not to have to remember configuration settings for each environment. You are welcome to use this. If you only have one deployment I don’t think you will have to but you can. Here is a gist for you.
Create an Azure Database for MySQL
This step is simple enough. Just search for the service and follow the prompts. However, once the database completes deploying there are 2 things required.
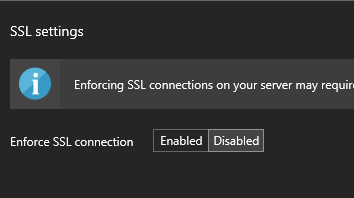
- Ensure the force SSL is disabled.
- Add a firewall rule to allow all IP’s. This was s setting I discovered by creating a Web App + MySQL test application in Azure from the Marketplace.

Exporting the Existing Database
There are 2 options, maybe more and not even one is better than the next. I will discuss the options I tried and note the one that I went with because it’s easier.
Option 1: Using phpMyAdmin
This is the less preferred method because I am not really a fan of phpMyAdmin but it is the method provided in the WordPress codex here.
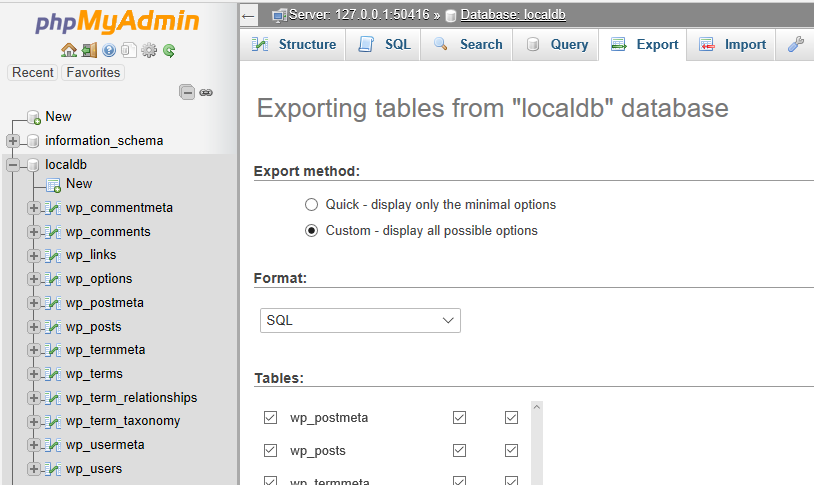
Exporting this way will provide you with a SQL file that you can then run against your new database.
NOTE: This script shows creating the database. Just manually create your database in your new SQL Database for MySQL via MySQL workbench. Also, don’t use localdb. That is for demo purposes.
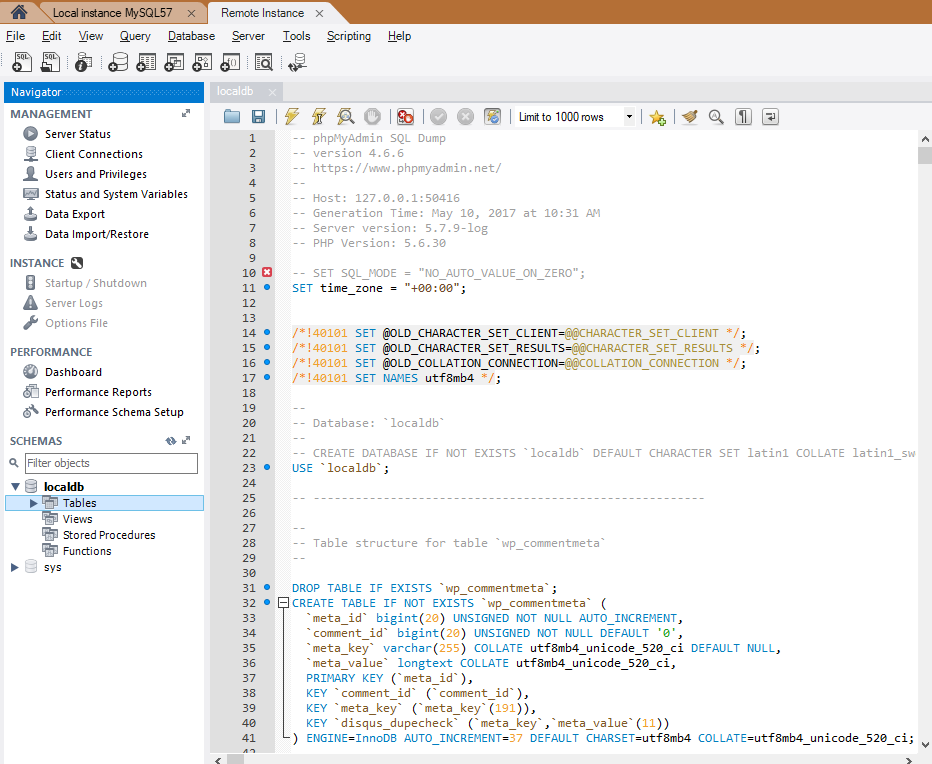
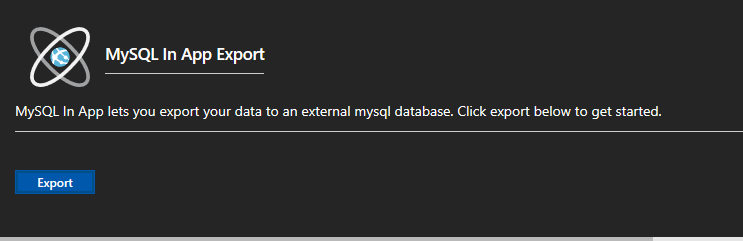
Option 2: Using the Azure Portal
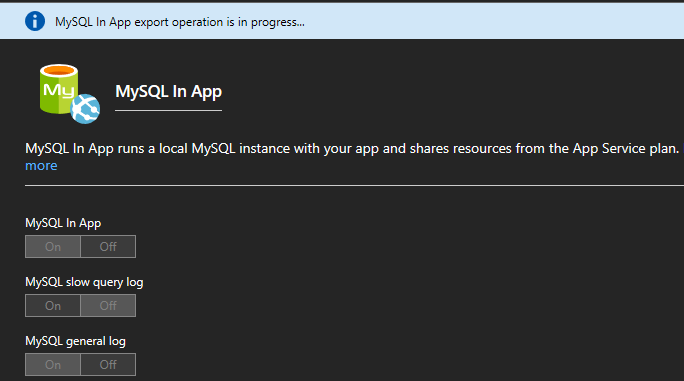
This is the preferred method and extremely simple. It’s like the Azure devs knew that the in-app instance would need an export function. It’s as simple as just entering the security credentials to the MySQL Server and clicking a button. So, here are some pictures for reference.
Note: I initially had an issue with connecting to the SQL database for MySQL doing this. However, I disabled the force SSL and added the firewall rule and it worked seamlessly.

Deploy WordPress in Staging Environment
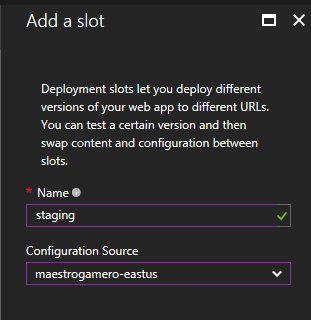
This next step you’ll want to test out your work to see if all went well. Luckily, Azure App Service has an excellent feature for that; deployment slots. It’s easy to create a deployment slot. In the production app blade select the section for deployment slots and add a slot. I cloned the source configuration so that things would be identical to test out.
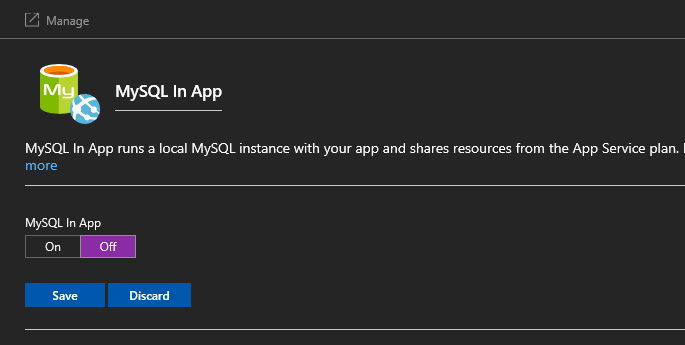
In the staging deployment turn off the MySQL in App feature.
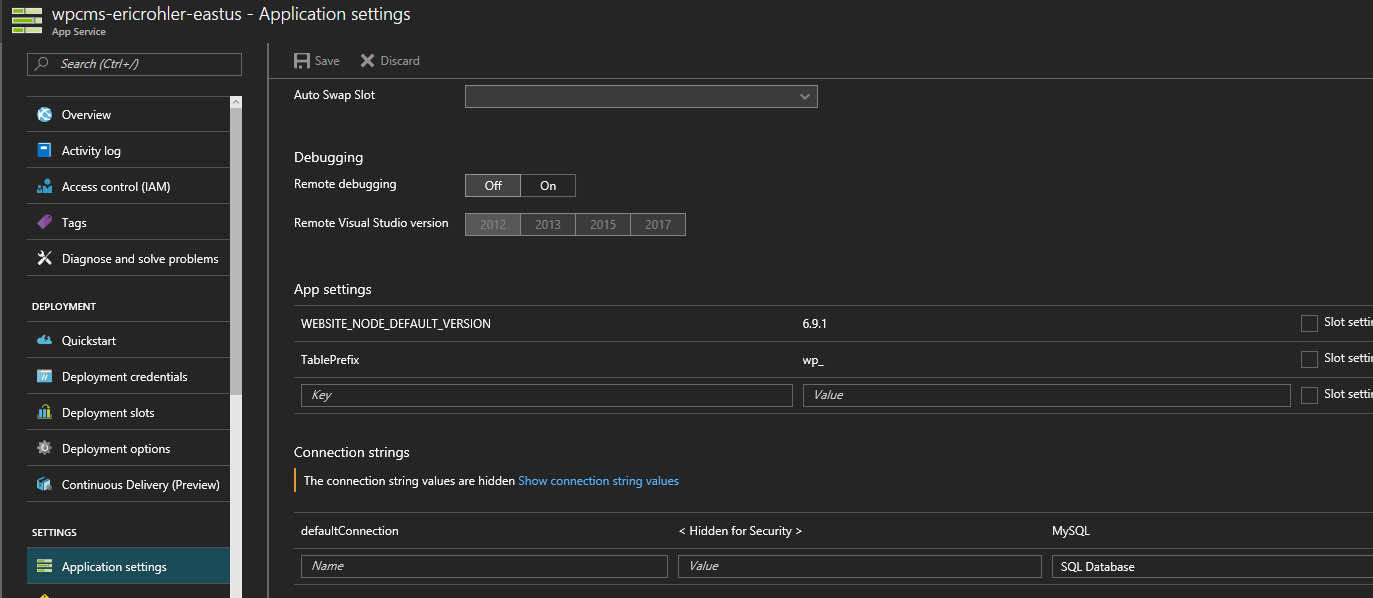
Also in staging, delete the old application settings specific to the MySQL in App instance and add your connection string. The format of the connection string is Database={dbName};Data Source={dbHost};User Id={userName};Password={password}
This next step requires and FTP client. I use FileZilla but whatever your preference is will work fine. Make sure to configure the ftp client to connect to production and staging. Connect to production and download the production WordPress application code.
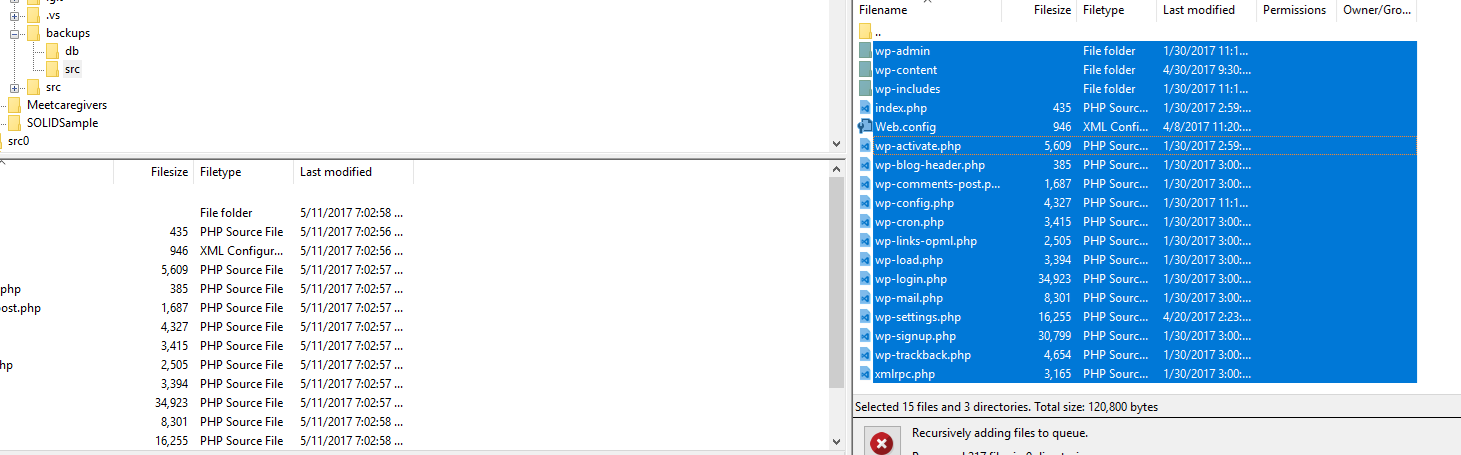
Now, connect to staging and upload the application code.
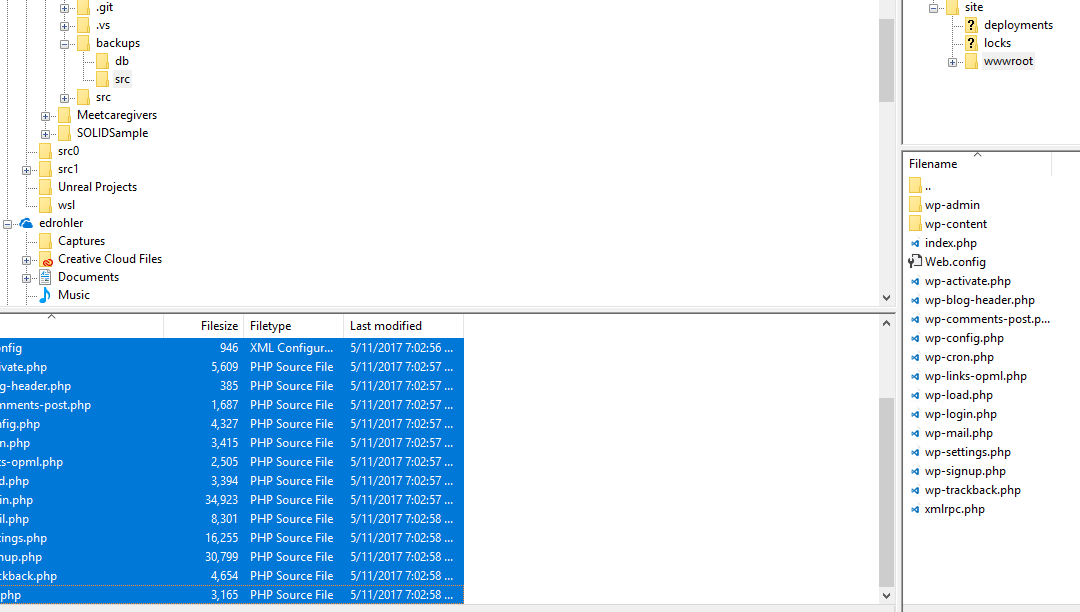
In the wp-config.php file, ensure the database connection string key matches the key from the application settings. Reupload the wp-config.php file via ftp client, if necessary.
Test the staging URL and make sure everything works. Click links, read posts, etc. If all goes well, move to the last step.
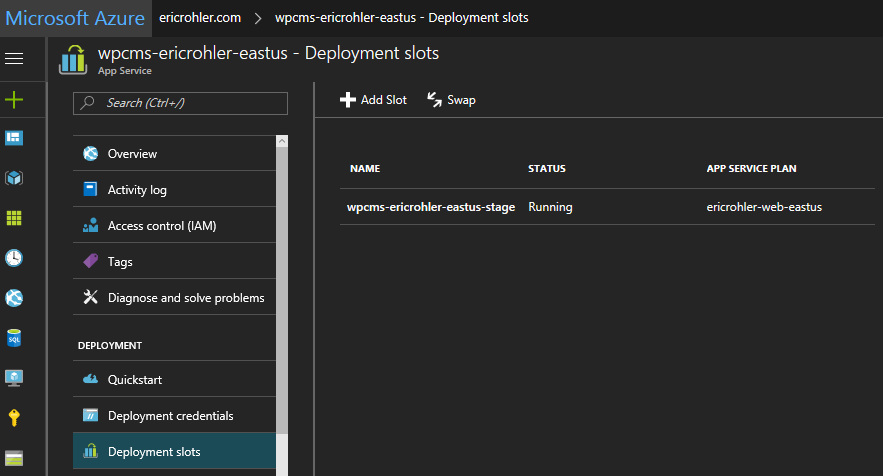
Swap Production and Staging Environments
Swap staging and production. This is easy enough, just click the swap button via the staging or production website overview blade. Below is a sample of what the swap button looks like.

Conclusion
Migrating a database is easy in MySQL and I really enjoyed using the MySQL Workbench tool. Additionally, now the site is scalable. Where before it wasn’t because each MySQL in-app instance was unique to the website instance. Meaning, if the site scaled to 100 instances there would also be 100 MySQL in app instances. This alleviates this issue. However, I doubt many users will need to do this but it is documented here. Enjoy.